Did you enjoy this video? Want to get access to an easy video lighting tutorial to apply on your small business videos? Check out this link to learn more about it.
Video Transcript: Lights. Now this is your basic three point lighting system. What it is, I’ll talk you through this. I’ve got it set up here. You’ve got what is called your key light, which is your main light. This will be your strongest light which will give the most light onto the subject. What happens though is, you get this strong light coming on and it starts to cast shadows and it can be distracting. So you get this strong video lighting and then someone’s nose creates a shadow on their face or you get dark circles and things like that. You definitely have to have a key light. Usually it sits up high, it’s your surrogate sun. If you’re indoors in a controlled environment, that’s your key light.
Then you have what’s called a fill light as you can see here. The fill light sits usually at the same level as the camera, a bit lower, and it’s a softer light. When we have these kinds of light, which have multiple bulbs in them, you can turn on different ones. With your key light, you might turn them all on and then with this one, you might turn two on or three on. So that will just help balance out that thing.
What you don’t want is it to be the exact same intensity because then it will just flatten you out. It will flatten out the subject. These are all things that are quite subconscious but when you’re watching a film or something, you read emotion out of light as well. You read about the situation that the person is in.
What we want is a level of contrast to give a bit of depth and character to someone’s face and generally that’s what we’re filming. If you’re using these lights, softer light will get rid of those strong shadows that are created by the key light but also leave a little bit of detail in the face.
Finally, if you’ve got the means, the space whatever, you would use a back light and video lighting kit. The back light provides a bit of a halo, a bit of a glow over the back of someone and it also separates them from the background which is a really effective thing. In a minute I’ll show you the difference from step to step of what it looks like to use these different lights.
It’s a really good thing, it adds a little bit of light on the shoulder, maybe to highlight bone structure and cheeks and things like that and it just does something. It makes you say, that’s what I’m meant to concentrate on, this person, not the background that is lit as well, so you move away from it.
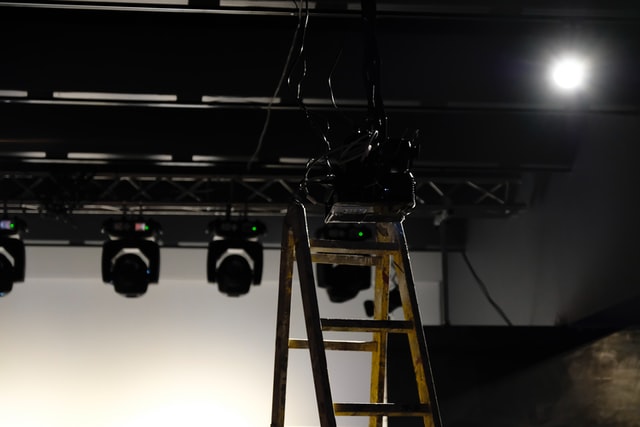
That’s your basic lighting set up. Here’s the studio.
Question: This is probably a really stupid question. Could you just flick back to that other slide? Where you’ve got the back light there, that bottom bit there, that would be effectively where you would put your back drop sheet? Is that right?
Ben: Yes, here. Now in the studio set up we have at the office, it’s a small room so, ultimately the back light should be behind you and above and you don’t want it to be in front of the backdrop or anything like that. It’s better if you can get it behind the backdrop and just lighting you. In our situation, we have to put it to the side because there’s not much room. So you just put it to the side but it still adds a little bit of texture and glow and separates from the video background.
Question: Would you use two back lights?
Ben: No, you wouldn’t actually because it flattens it. It flattens it out too much, you want a bit of contrast and depth. That’s how our eyes work. I’m focusing on you, but my peripheral vision is also focusing elsewhere but that’s blurred out right now. That’s how our eyes work and that’s what we as humans will want to mimic, what we want to see when we look at things as well. That’s what the lighting does.
Question: Just very quickly, the back light, just the strength of that in comparison to the key light and the fill lights?
Ben: It’s a softer light as well. It’s just a highlight. You can get little lights that will offer just a very limited thing. Those little LED lights that I was talking about, you could use something like that. It’s about playing around, because your environment, the space you’re in, will dictate how much strength you need. With the redheads, you try to put them back as far as you can because they’re so strong. Then if you put some diffusion on it, it softens it and it’s a bit of trial and error. You’ll get a feel for when it’s right.
(slide) This is the studio, this is with all the video lighting equipment, lights off and can you see Dave? He’s there. So he took a photo of that like that. (slide) This is just with the overhead light on right, and the projector makes it a little bit dark. You’re getting a lot of down light, shadow, it’s not strong. (slide) This is with a key light, just this key light coming on. So as you can see, you’re getting a nice bit of light here but it just disappears. You’re getting no texture over that side of his face. I love the face he’s making by the way.
(slide) This is with the fill light on. See how much light is on this side? We’ll go back. We’ve got heaps of light on this side, not much here, we’re just adding a bit more. So you’re getting that texture but it’s not as powerful as it is on that side.(slide) Then finally you add it with a back light. With the back light you see the difference. See he’s part of the background there, you can’t see anything? But here, now you start to get a shape. He separates it. You’ll end up looking like that if the wind changes. That’s basically how it will look. Play around with it, get a feel for it. That’s lighting.
I hope this video lighting tutorial will help improve the quality of your small business videos. Want to get help in producing and marketing your own business videos? Contact us today.


