When shooting a web video, you need to give due consideration to the subject of framing using a video frame editor. This is viewable area you select when making your video. If a video is well framed, the viewer will be unaware of the actual framing, it will just feel right. If you don’t get this aspect right, the impact will be lost and your message won’t get through to the viewer. The one golden rule to remember is that you need to take up most but not all of the available space on the screen.
There are basically three different kinds of shot that a beginner video frame editor can choose when making a video. They are the wide shot, the mid-shot and the close-up.
The wide shot shows the environment in which the video is being shot. This could be in a forest, on a beach or in a room. The mid-shot is usually the head and shoulders of a person or it can be a 2-shot where there are two people talking, showing their heads down to the mid chest area. The top of the frame is the top of the head and the bottom of the frame is the mid torso.
Close-ups are the third type of shot you can take. The close-up shows the emotion of the presenter or business keynote speaker. By using a close-up, the viewer can see the tear in the corner of the eye, the frown or the grimace. When a close-up is used, it emphasizes a point. A close up of a hand gripping will convey meaning very quickly and very powerfully.
A lot of work can be done in the digital video frame editing phase once the video has been shot. You would most likely film the entire video using one type of shot, such as the mid-shot. For the person just starting out, the mid-shot is the one that should be used most often. If you are shooting a group of people, start with a wide shot so the viewer gets an idea of the context, and then go to a mid-shot. When you are editing the video, you can then zoom in to provide close ups and thus add an extra layer of meaning to the video.
By using some of the clever post production video editing software that is now available, you can zoom, pan, and make it appear as if several cameras were used, not just one, by playing with different angles.
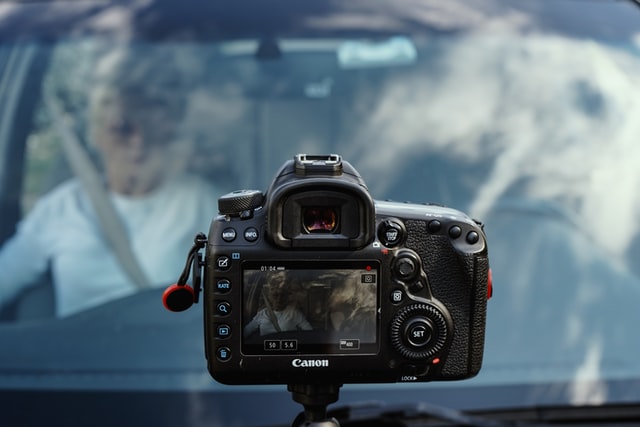
Before you begin shooting, check the framing by using the LCD and see if it looks about right. If you are using a Flip camera, press record and see whether you are happy with the framing. Experiment using trial and error. Soon you will develop a sense of when the shot is framed right.
With some consistent practice, it will be possible even for a beginner video frame editor to shoot a video of a good standard with the shots well framed if just a few basic guidelines are followed.
Click here if you would like more tips and tricks to help make your video look professional or contact the team at Melbourne Video Production and we will gladly give you some help with framing and other aspects of video making.

The mid-shot gives a pro feel to your video framing… sometimes.


